

Most leaky faucets are a simple fix, usually just a matter of swapping out a worn-out washer, O-ring, or cartridge. Before you even think about touching the faucet, your first moves are always the same: shut off the water supply under the sink and plug the drain. Trust me, you don’t want to watch a tiny, crucial screw disappear down the drain.
With just a few common tools, you can usually take the faucet apart, replace the bad part, and have that annoying drip gone in less than an hour.
Why You Should Fix a Leaky Faucet Immediately
That drip… drip… drip is more than just a soundtrack for a sleepless night. It’s a sign of money and water going right down the drain, and it’s a warning of bigger problems to come. Ignoring a leak is letting a tiny issue snowball. Fixing it fast is one of the smartest, most satisfying repairs you can do around the house.
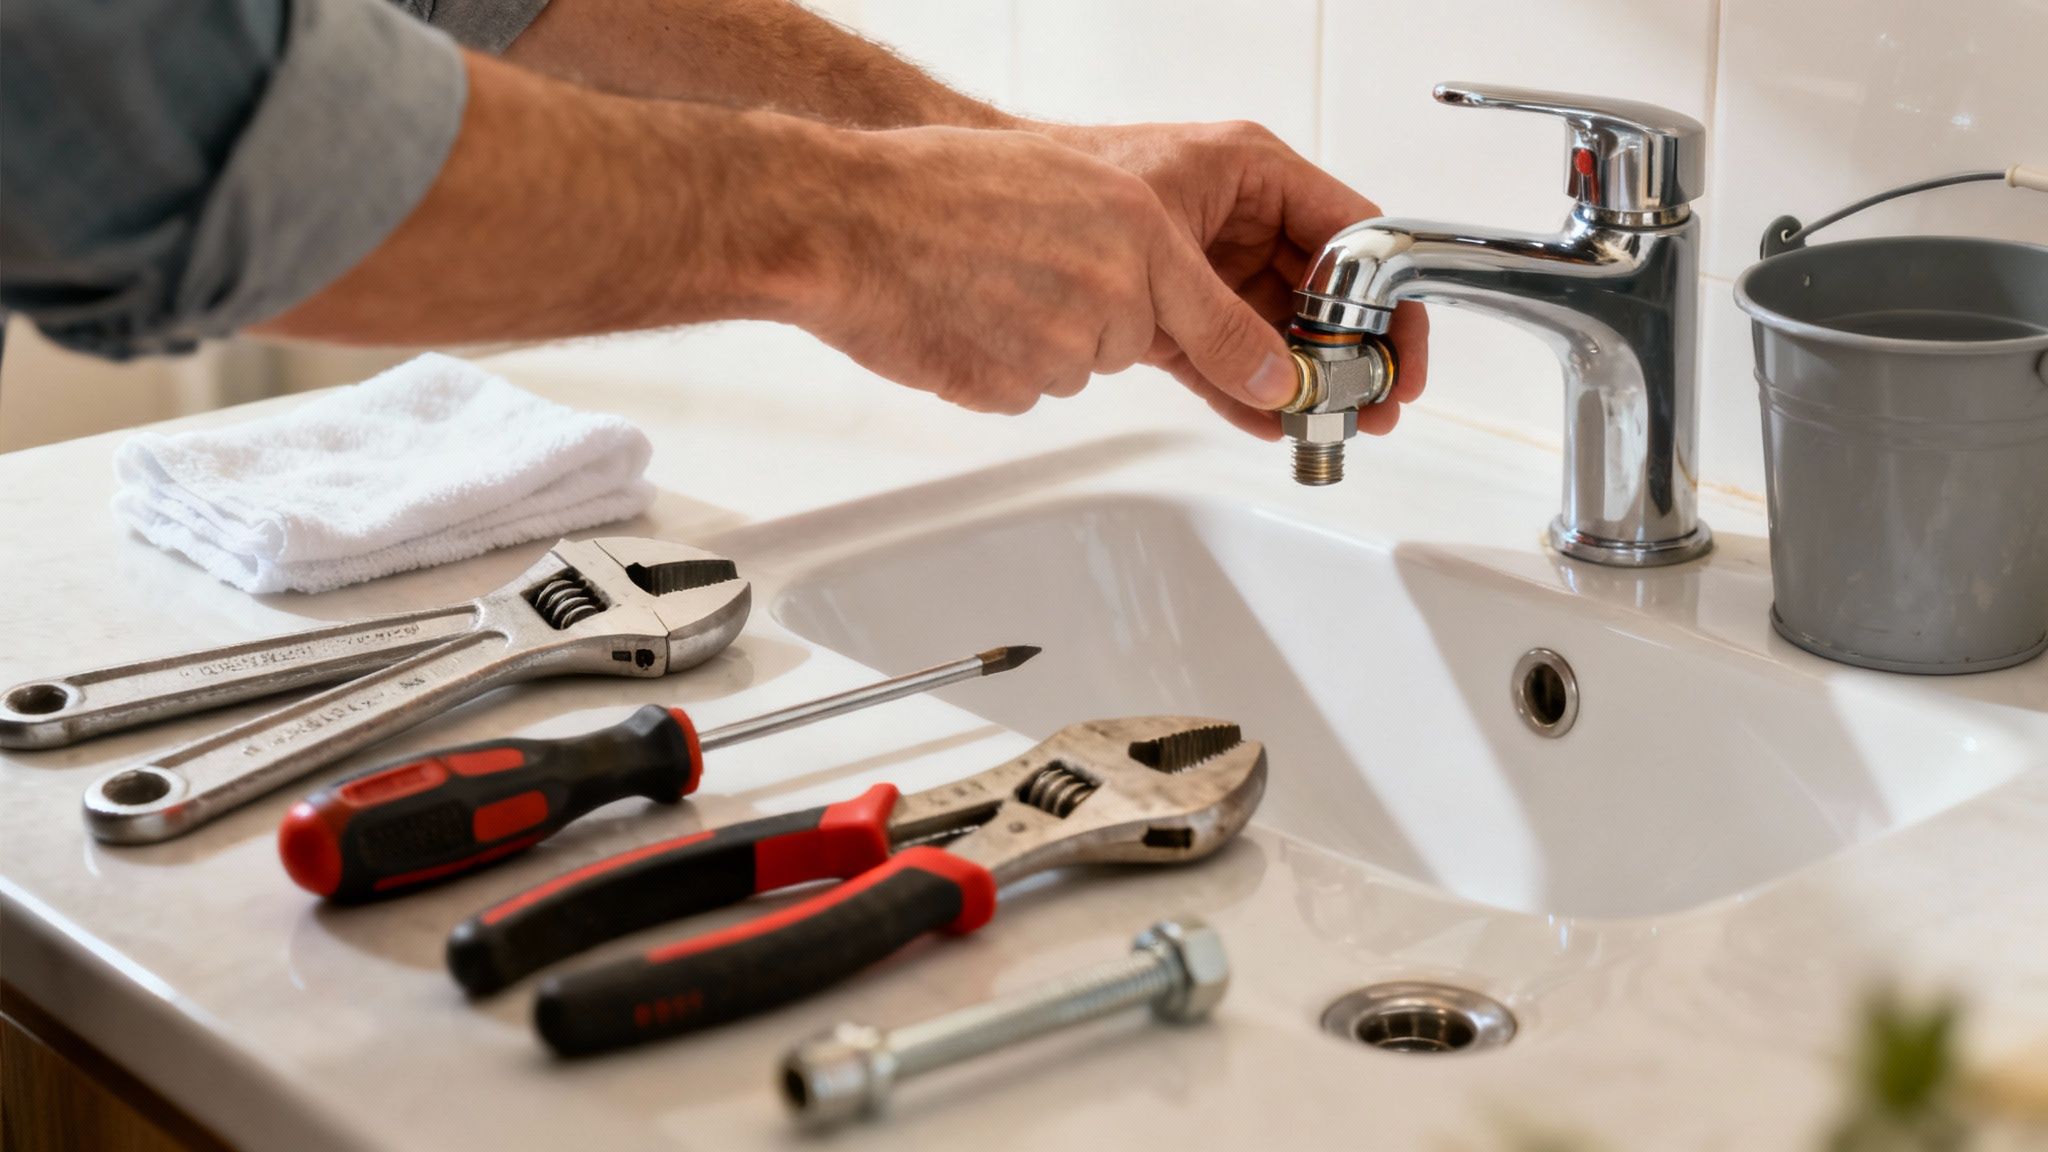
It’s hard to believe, but the impact of one dripping faucet is huge. The United States Environmental Protection Agency (EPA) estimates that a single faucet dripping at one drip per second can waste more than 3,000 gallons of water per year. That’s enough for over 180 showers! A quick repair can cut that waste by as much as 90%, which you’ll definitely notice on your next water bill. For anyone interested in the broader market, this detailed industry report covers current faucet trends.
The Real Cost of a Drip
It’s not just about the water. A constant drip inevitably finds its way into places it shouldn’t be. Water seeping into your vanity, under the flooring, or inside your cabinets is a perfect recipe for mold and rot. What starts as a 50-cent washer replacement can quickly escalate into a weekend-long project tearing out and replacing damaged woodwork.
This guide will walk you through the whole process, so you can spot the common culprits and feel confident enough to do the job right.
Key Takeaway: Fixing a leaky faucet isn’t just about stopping a noise. It’s about saving water, preventing expensive damage, and taking care of your home’s plumbing.
To get started, it helps to know where the leak is likely coming from. This table breaks down the most common scenarios.
Quick Faucet Leak Diagnostic
| Leak Location | Common Cause | Primary Repair Part |
|---|---|---|
| From the spout (the drip) | Worn washer or faulty valve seat | Washer, O-Ring |
| Around the handle base | Worn O-rings or a bad cartridge | O-Rings, Cartridge |
| Under the sink | Loose connections or failing supply lines | Gaskets, Supply Lines |
Knowing these common failure points gives you a huge head start. So, with that in mind, let’s get ready to dive into the specific steps for your faucet type.
Getting Your Gear and Knowing Your Faucet
Before you even think about taking that leaky faucet apart, let’s talk prep. Trust me, jumping in without the right tools or a clear idea of what you’re dealing with is a surefire way to turn a 30-minute fix into an all-day ordeal with multiple trips to the hardware store. A little bit of prep work makes all the difference.
The good news is you probably have most of what you need already. This isn’t a job that calls for a bunch of exotic, single-use tools.
Your Go-To Faucet Repair Toolkit
Having these tools laid out and ready to go will make the job a hundred times easier. I like to put down an old towel on the countertop to keep things organized and prevent any stray scratches.
- Adjustable Wrench: This is your workhorse for loosening and tightening the various nuts you’ll encounter.
- Screwdrivers: You’ll definitely want both a flat-head and a Phillips-head. Faucet handle screws love to hide under little decorative caps.
- Pliers: A good pair of needle-nose or channel-lock pliers is invaluable for grabbing small parts or getting a firm grip on a stubborn component.
- Rags and a Small Bucket: Absolutely essential. You’ll need these for mopping up the last bit of water in the lines and keeping your work area dry.
And here’s a tip I learned the hard way: plug the sink drain before you start. A simple drain stopper or even just a rag stuffed in the hole has saved more tiny, irreplaceable screws from vanishing than I can count.
Figuring Out What Kind of Faucet You Have
Okay, this is the most important part of the whole process. Walking out of the store with the wrong repair kit is the number one reason DIY faucet repairs fail. Faucets come in all shapes and sizes, but underneath, they almost always use one of four main mechanisms.
Pro Tip: Snap a few photos of your faucet on your phone before you leave the house. Better yet, once you have the old parts out, bring them with you to the store. There’s no better way to guarantee you get an exact match for what you need.
Here’s a quick rundown on how to spot the difference between the four main types:
- Compression Faucet: Think old-school. These have two separate handles for hot and cold that you have to physically tighten down to stop the water flow. If you feel yourself cranking on the handle to get the drip to stop, you’ve got a compression faucet.
- Ball Faucet: Very common in kitchens. These have a single handle that pivots around on a dome-shaped cap at the base of the faucet. The handle moves fluidly up, down, left, and right.
- Cartridge Faucet: These often have a single handle, but the feel is different from a ball faucet. The movement is usually very smooth and direct—up for on, down for off. Some two-handle models use cartridges, too.
- Ceramic Disc Faucet: This is a more modern, heavy-duty design, usually with a single lever. The dead giveaway is the limited, precise movement. The handle typically lifts straight up for volume and rotates only about 90 degrees from side to side for temperature.
Once you know what you’re working with, you can buy the right parts with confidence. While you’re under the sink, take a look at the base of the faucet. If the sealant looks old and cracked, our guide on how to caulk a kitchen or bath without a caulking gun can help you put a nice, clean finishing touch on your repair.
Alright, let’s get into the nitty-gritty of the repair itself. This is where we take the faucet apart and swap out the worn-out components. Every faucet type has its own personality, so to speak, with a unique internal setup. That means the repair process will look a little different for each one.
Don’t let that intimidate you. Once you know what you’re working with, the fix is usually pretty straightforward.
This flowchart lays out the prep work perfectly. It’s all about being prepared before you even think about turning a wrench.
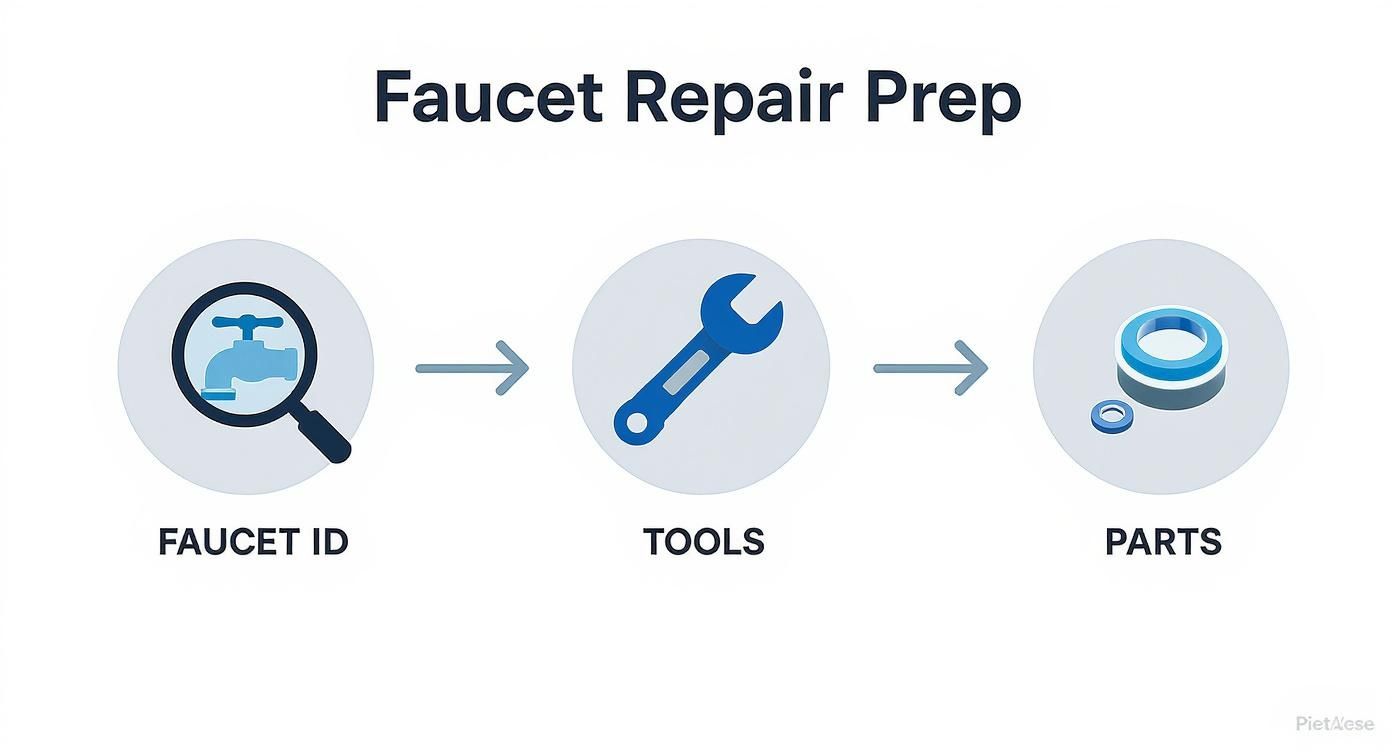
This simple flow—Identify, Gather, Procure—is the foundation for a repair that goes smoothly. It ensures you have the right parts and tools sitting right next to you before you start.
Tackling a Compression Faucet
If you have separate hot and cold handles, you likely have a compression faucet. These are the old-school standard, and 9 times out of 10, a leak is caused by a failed seat washer. This little rubber washer gets squashed down every time you shut off the water, and over years of use, it just gives out.
Getting to it is simple. Pop the decorative cap off the handle, remove the screw underneath, and pull the handle straight up. From there, use a wrench to loosen the packing nut, which lets you lift the entire stem assembly out. The culprit is at the bottom: a small rubber washer held on by a brass screw. Swap it for a new one, put everything back together, and you’ve just silenced that annoying drip.
Working on a Ball Faucet
Ball faucets, with their single handle that pivots on a rounded cap, are a kitchen classic. Inside, they rely on a whole system of a slotted metal ball, tiny springs, and rubber seals. For these, grabbing a full repair kit is non-negotiable—you’ll want to replace all the little wear-and-tear parts at once.
Once the handle is off, a pair of pliers will help you loosen the main cap. You’ll then see the cam, the ball itself, and the small rubber seals sitting on top of springs. Gently fish these out with a small screwdriver, making a mental note of how they’re oriented.
Drop the new springs and seals in, place the new ball on top (make sure its slot lines up with the pin inside the faucet body), and fit the new cam over it. Tighten the cap, and you’re good to go.
A Word of Caution: The parts inside a ball faucet are tiny and love to escape. I can’t tell you how many times I’ve heard of people dropping a spring down the drain. Do yourself a favor and plug that drain before you start.
Replacing a Cartridge Faucet
Cartridge faucets are everywhere these days, and for good reason—they’re incredibly reliable and a breeze to fix. The magic is that the entire water-flow mechanism is contained within a single, self-contained cartridge. The global faucet market, which was valued at around $23.28 billion, is expected to hit $36.69 billion by 2030, and you can bet cartridge models are a big reason for that growth.
The repair is basically a simple swap:
- Get the handle off to reveal the top of the cartridge.
- You’ll probably see a small retaining clip holding it in. A pair of needle-nose pliers is perfect for pulling this clip straight out.
- Now, just grab the cartridge stem with your pliers and pull it directly out of the faucet body. It might take a little wiggling.
- Slide the new cartridge in, line it up correctly, and pop the retaining clip back into place.
This quick fix usually solves leaks coming from the spout and any water seeping out around the handle. The process is almost identical for sink and tub faucets; you can see for yourself in our guide on how to fix a leaky single-handle bathtub faucet.
Servicing a Ceramic Disc Faucet
Modern, sleek, and built to last, ceramic disc faucets control water with two ultra-hard, polished ceramic discs that glide over each other. These things rarely fail. When a leak does happen, it’s almost always the neoprene seals at the base of the cartridge that have worn out.
After you remove the handle, you’ll need to unscrew the escutcheon cap covering the cylinder. This will expose the screws holding the disc cylinder in place. Take those out and lift the cylinder out.
Right underneath, you’ll see a few small neoprene seals. Carefully pry the old, brittle ones out with a flathead screwdriver and press the fresh ones firmly into their seats. Put it all back together, and that faucet will feel brand new, giving you that perfect, effortless seal for years.
Troubleshooting Common Repair Problems
You’ve followed all the steps. The old parts are out, the new ones are in, and you’ve reassembled everything. You turn the water back on, lean in close, and… drip. It’s a classic moment of DIY frustration, but don’t give up. These little setbacks are part of the process, and most of them have a simple fix.
More often than not, the problem isn’t a bad part you just bought; it’s something you couldn’t see at first. Getting past these hurdles is what separates a DIY attempt from a successful repair.
When Parts Refuse to Budge
One of the most frequent battles is with a stuck part. After years of hard water and mineral buildup, that handle, screw, or packing nut can feel like it’s been welded in place. Trying to muscle it off is usually a bad idea—it’s a fast track to stripping a screw or scratching your faucet’s finish.
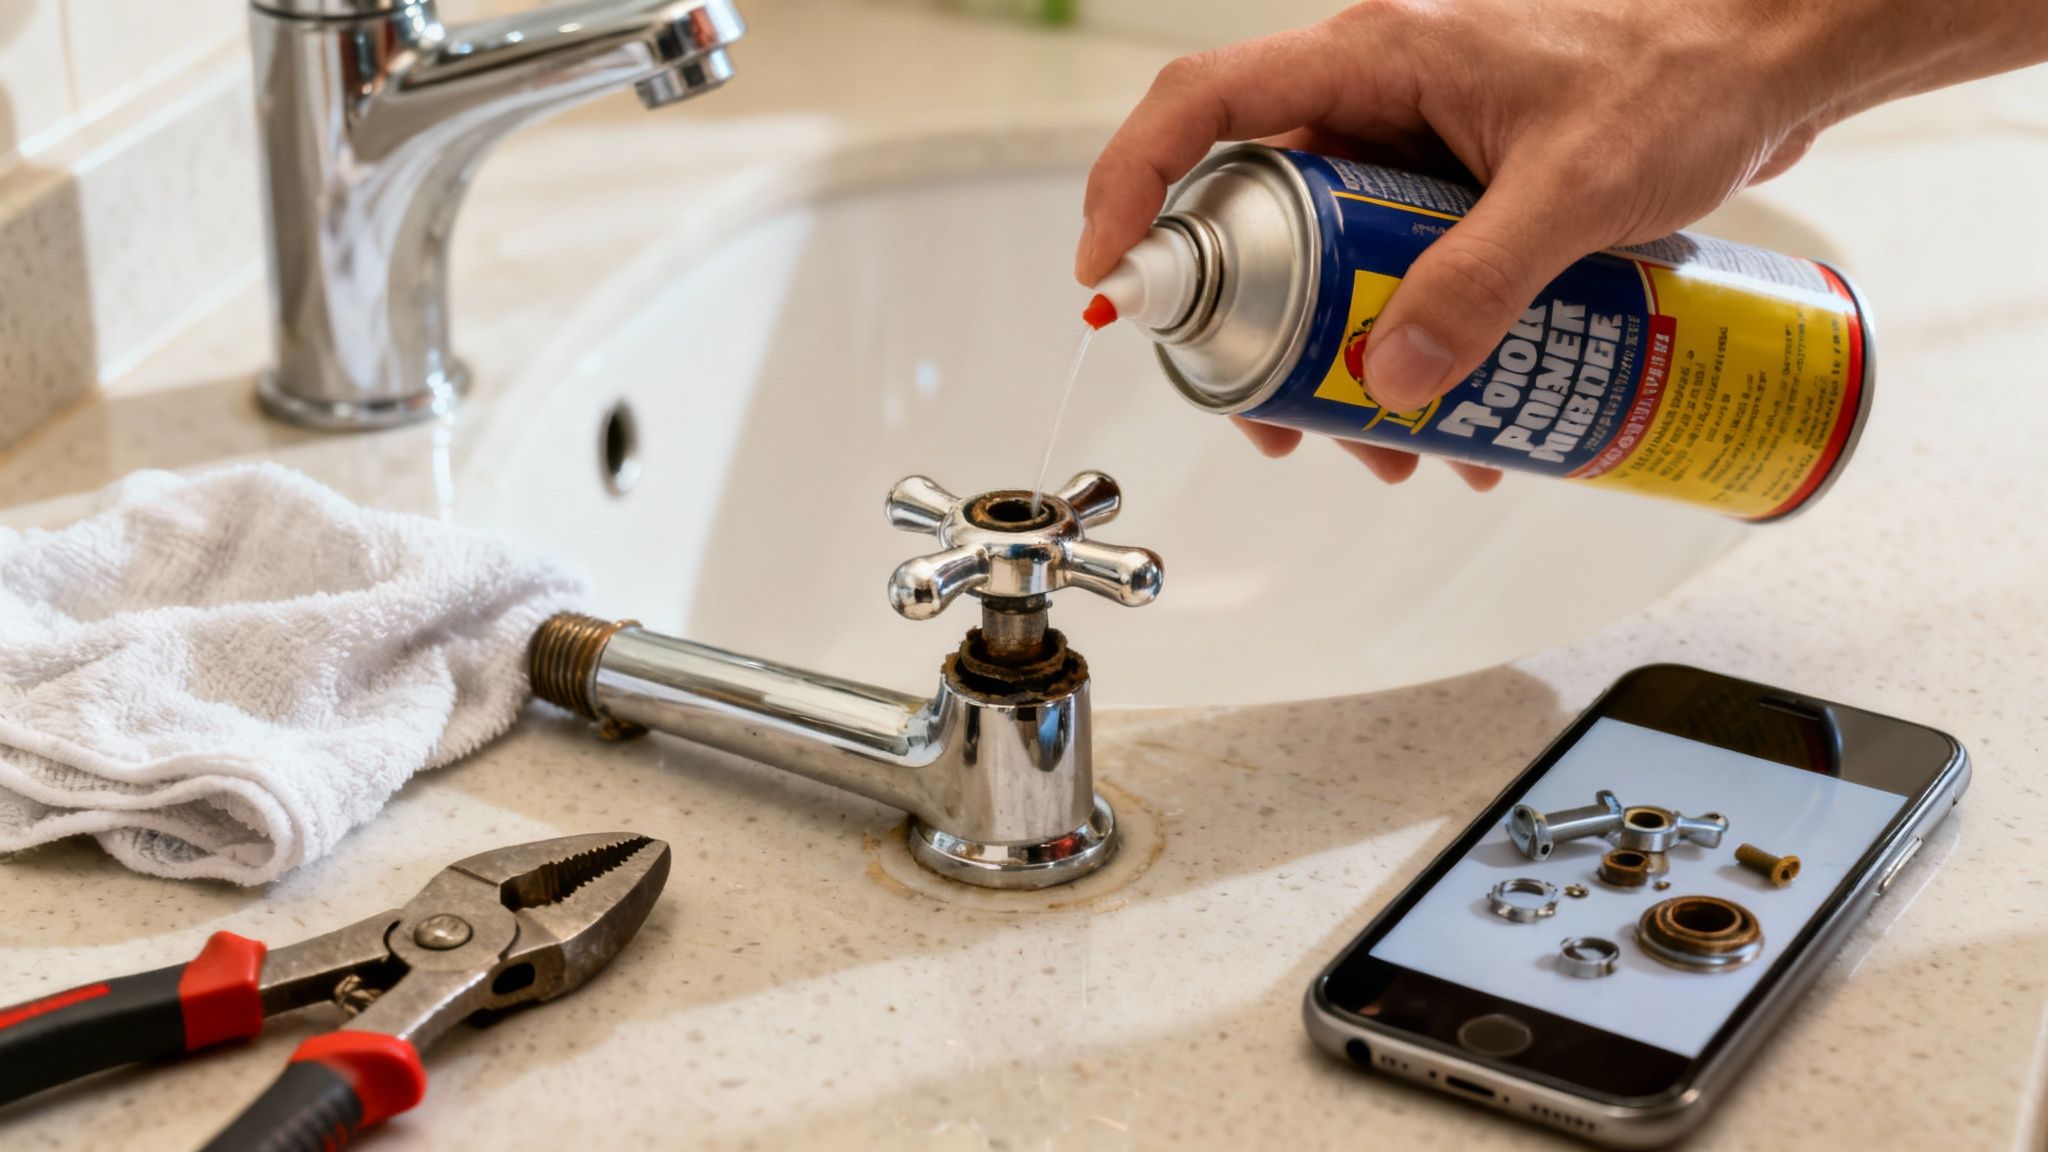
Your best friend here is a can of penetrating oil. Give a good spray around the base of the stubborn part and just walk away. Let it sit for 15-20 minutes so it has time to work its way into the threads and break down the gunk. Sometimes, a few light taps with a screwdriver handle can help jar it loose.
If you’re already dealing with a stripped screw head, all is not lost. You can often clamp down on it with a pair of locking pliers to get enough grip. For those truly impossible screws, a dedicated screw extractor kit is a fantastic tool to have in your arsenal.
The Drip That Just Won’t Quit
So, you replaced the washer, O-ring, or even the whole cartridge, and the faucet is still dripping. This is a head-scratcher for a lot of people, but the answer usually lies with the valve seat. This is the little metal rim that the washer presses against to shut off the water.
Over time, that seat can get corroded or pitted, creating a rough surface. Even a brand-new washer can’t form a perfect seal against it. You’ve got a couple of choices here:
- Resurface it: A handy little tool called a valve seat wrench (or dresser) lets you gently grind the seat, smoothing it out for a perfect seal.
- Replace it: Some seats are threaded in and can be completely removed and replaced. You’ll need a seat wrench for this, too.
Here’s a tip from experience: Before you even think about heading to the hardware store, take a few clear pictures of your faucet—inside and out. There’s nothing more aggravating than getting home to find you bought a part that’s almost right. Better yet, bring the old parts with you to guarantee a perfect match.
Key Takeaway: If a faucet still leaks after replacing the primary parts, the valve seat is the most likely culprit. A smooth seat is essential for a watertight seal, and resurfacing it is often the final step in a successful repair.
Dealing With Leaks From a Different Source
Occasionally, the drip you’re chasing isn’t coming from the spout at all. If you find a puddle forming under the sink, the problem is likely with the water supply lines or the drain assembly. It’s easy to get tunnel vision on the faucet itself and miss these other culprits.
Get a flashlight and check the connections where the supply lines meet the shutoff valves and the faucet. A quick turn with a wrench to tighten a loose connection nut might be all it takes. If the leak continues, you might be looking at a bigger issue. For that scenario, our guide on how to fix a leaking pipe under your sink can walk you through the next steps.
Knowing When to Repair vs. Replace Your Faucet
That nagging drip… drip… drip is a classic homeowner headache, and tackling it yourself feels great. But let’s be honest, sometimes a quick fix is just putting a bandage on a much bigger problem. The real trick is knowing when to put the wrench down and start shopping for a new faucet. Getting this call right will save you a ton of frustration, repeat trips to the hardware store, and wasted water.
Telltale Signs It’s Time for a New Faucet
Sometimes, the faucet itself tells you it’s done. If you’ve already swapped out the o-rings or the cartridge and that leak just keeps coming back, listen to what it’s telling you. The internal housing is likely the culprit.
Keep an eye out for obvious signs of decay. Widespread corrosion—that crusty green or white gunk flaking off the metal—is a major red flag. And if you spot even a hairline crack in the body of the faucet, it’s game over. That’s not something you can patch up; it’s a failure waiting to happen.
The Cost of Sticking with the Old
Think about how old that faucet is. Have you had to play plumber with it more than once in the last year or two? If so, you’re throwing good money and valuable time after a fixture that’s on its last legs.
A new faucet isn’t just about stopping a leak; it’s a real upgrade. Today’s models are worlds away from older ones in terms of water efficiency, which you’ll notice on your utility bill. Plus, it’s a chance to give your kitchen or bathroom a quick style refresh.
A Pro’s Two Cents: I always tell people to think of a new faucet as an investment. You’re not just buying a new fixture; you’re buying peace of mind and better technology that prevents the very leaks you’re trying to fix now.
Are Smart Faucets Worth It?
The biggest game-changer in recent years has been the rise of touchless and smart faucets. It might sound like a gimmick, but their design inherently cuts down on common leak points. The global smart faucet market hit around $1.9 billion and is expected to climb to nearly $3.4 billion by 2034. That’s not just hype; it’s a real shift in what people want. You can dig into more data on the smart faucet market to see the trend.
Instead of relying on you to fully crank a handle, these faucets use sensors for a perfect on-and-off every time. This simple change dramatically reduces the wear on internal seals and washers—the parts that fail most often. If you’re already in the market for a replacement, stepping up to a touchless model is a smart move for long-term savings and reliability.
Answering Your Lingering Faucet Questions
Alright, so you’ve swapped out the parts and tightened everything down. But sometimes, even after a seemingly successful repair, you’re left with a few nagging questions. It’s totally normal. Let’s tackle some of the most common things people wonder about after fixing a leaky faucet.
How Much Should It Cost to Fix a Leaky Faucet?
This is usually the first question people ask, and for good reason. The cost difference between DIY and hiring a pro is pretty staggering.
If you roll up your sleeves and do it yourself, you’re usually looking at a $5 to $20 bill. That’s it. This small cost covers a basic repair kit with the right washers and O-rings, or even a whole new cartridge for more modern faucets.
Now, if you call in a plumber, that number jumps significantly. For the exact same dripping faucet, you can expect to pay anywhere from $150 to $350. You’re not paying for expensive parts; you’re paying for their time, expertise, and the service call itself. For a simple drip, the savings from doing it yourself are massive.
Why Is My Faucet Still Leaking After I Replaced Everything?
This one is incredibly frustrating, and I’ve been there. You put in a new cartridge or washer, reassemble everything perfectly, and… drip… drip… drip. Nine times out of ten, the culprit is the valve seat.
Think of the valve seat as the landing pad for the washer. It’s a small metal rim deep inside the faucet body. Over time, hard water and constant pressure can corrode this seat, creating tiny pits and rough spots. A brand-new washer can’t form a perfect seal against a damaged surface. You’ll either need to smooth it out with a special tool called a valve seat wrench or replace the seat altogether. It’s also worth double-checking that you didn’t accidentally tear one of the new O-rings during installation—it happens!
Expert Insight: Before you put everything back together, run the tip of your finger around the inside rim of the valve seat. If you feel any grit, roughness, or nicks instead of a perfectly smooth surface, you’ve probably found your mystery leak.
Can I Just Use a Universal Repair Kit?
I get the appeal—a single kit that promises to fix any faucet sounds like a dream. In reality, it’s not the best move. Major brands like Moen, Delta, and Kohler design their faucets with very specific, precision-engineered parts.
A universal kit might get you a seal that kind of works for a little while, but an imperfect fit is a recipe for another leak sooner rather than later. For a repair that’s actually going to last, do yourself a favor and get the right parts. The easiest way? Just take the old, worn-out parts with you to the hardware store to find an exact match.
What’s Causing the Puddle Around the Base of My Faucet?
A drip from the spout is one thing, but a pool of water forming on your countertop is a whole different problem. When you see a leak coming from the base of the faucet itself, the issue is almost always worn-out O-rings inside the faucet body.
These little rubber rings create the seal that keeps water contained as it flows up from under the sink and out through the spout. When they get old and brittle, water seeps past them. The fix involves taking the faucet body apart to get to these internal O-rings and swap them out for fresh ones. Once you do that, your countertop puddle should be a thing of the past.


